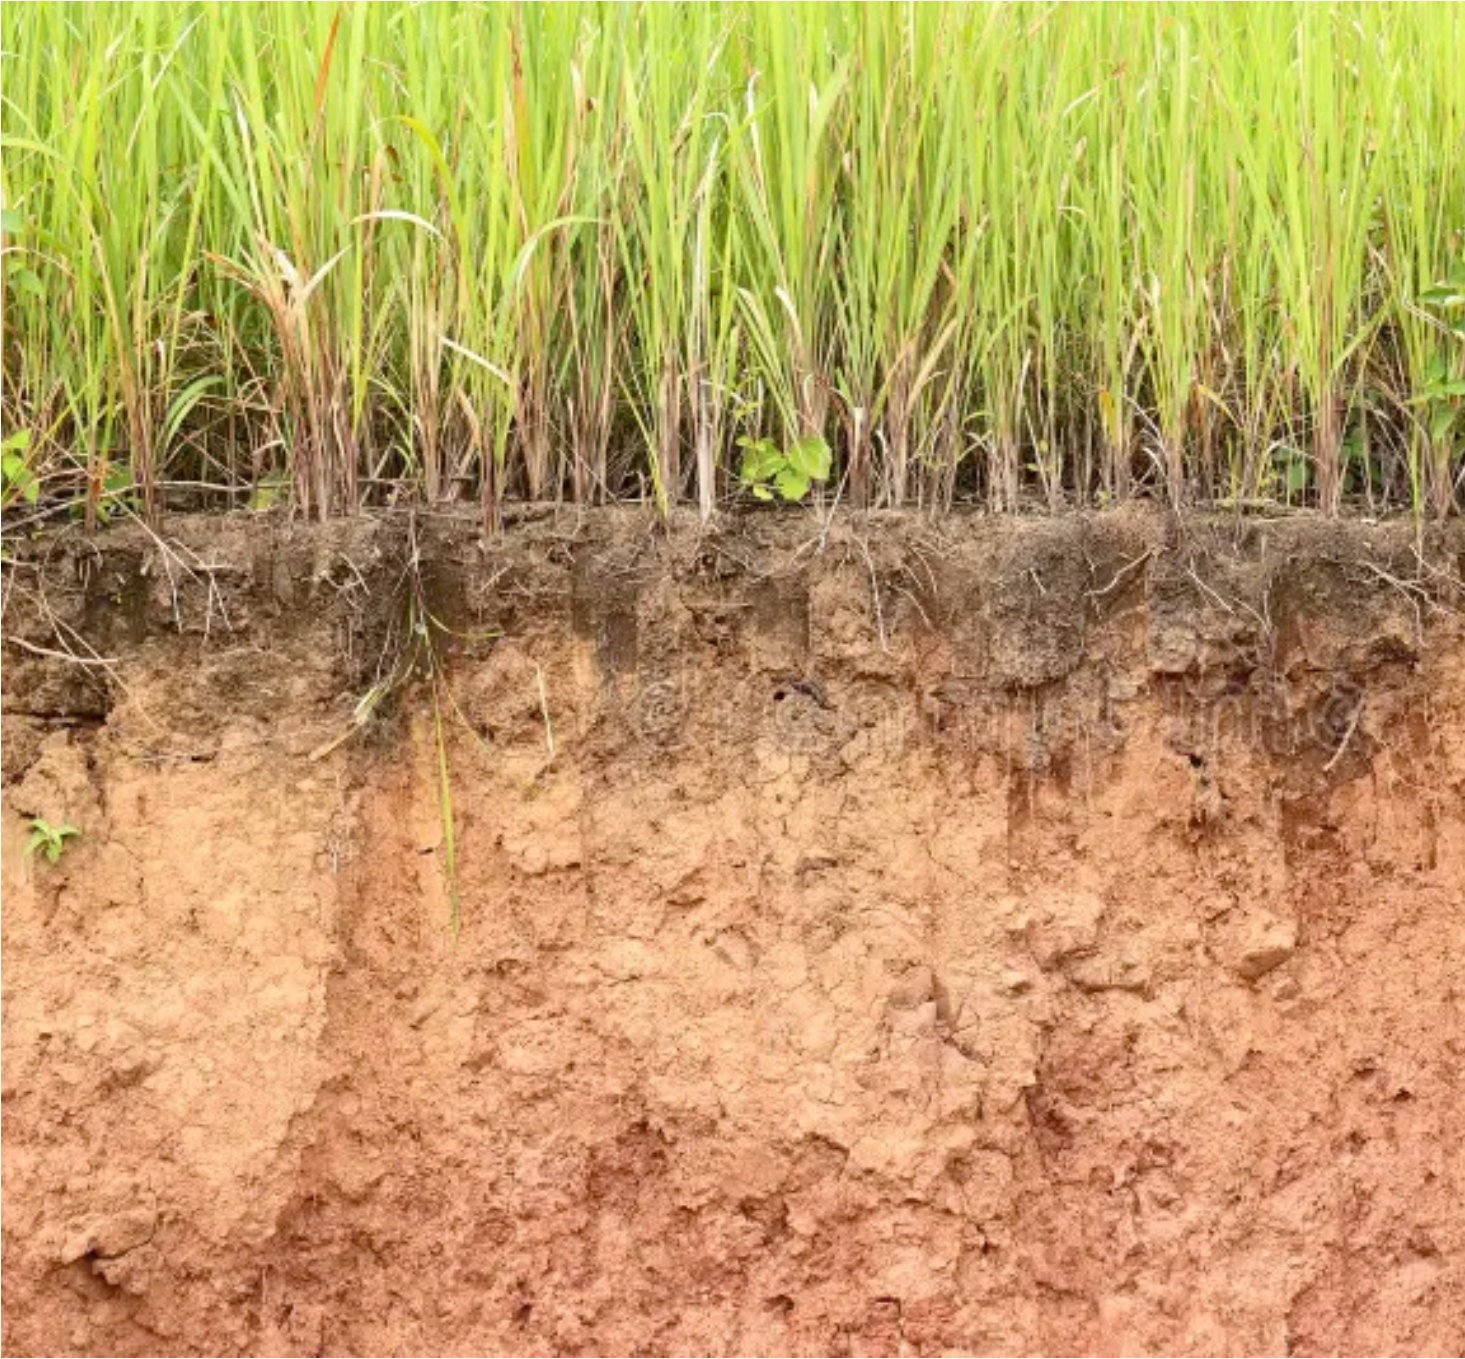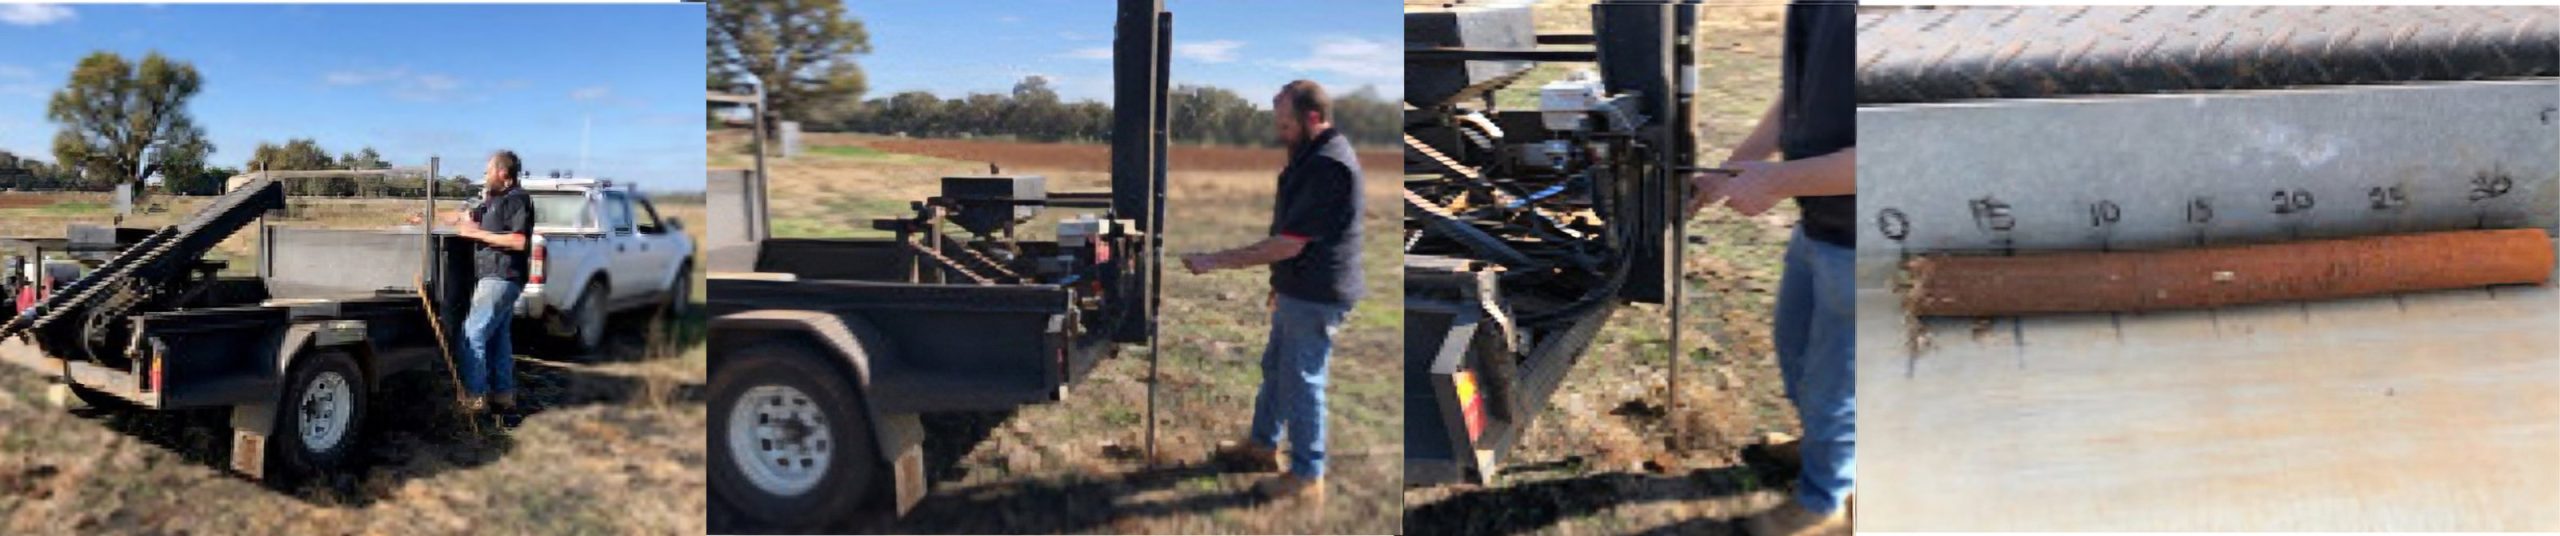
- Soil testing is a vital tool to identify issues affecting profitable crop and pasture production. Knowing how to best manage the soil means first understanding soil chemistry, physics and biology.
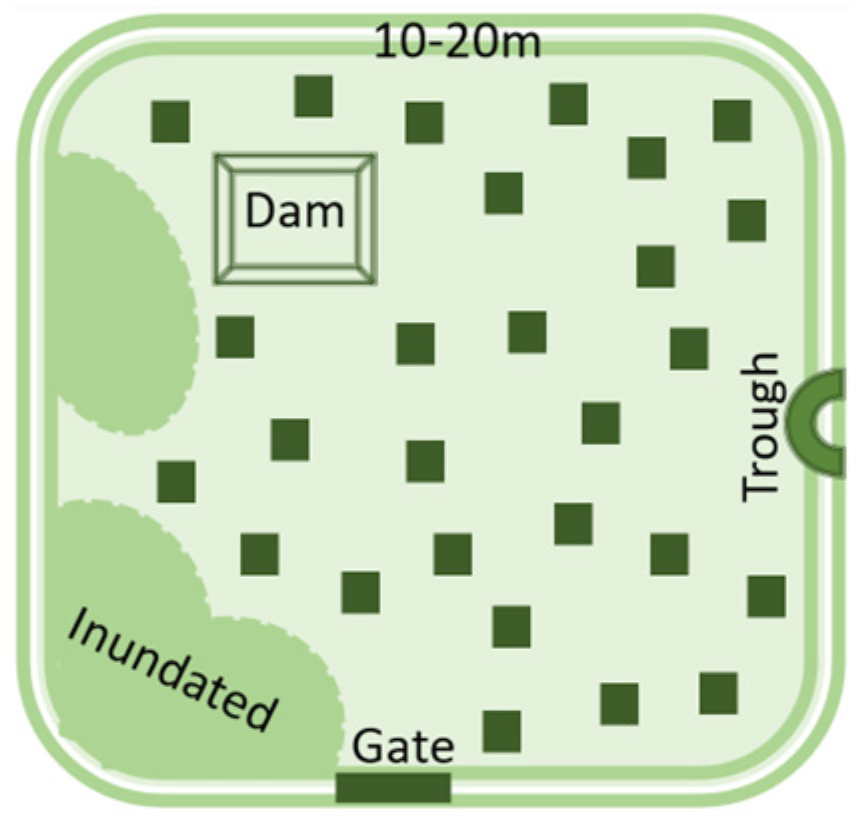
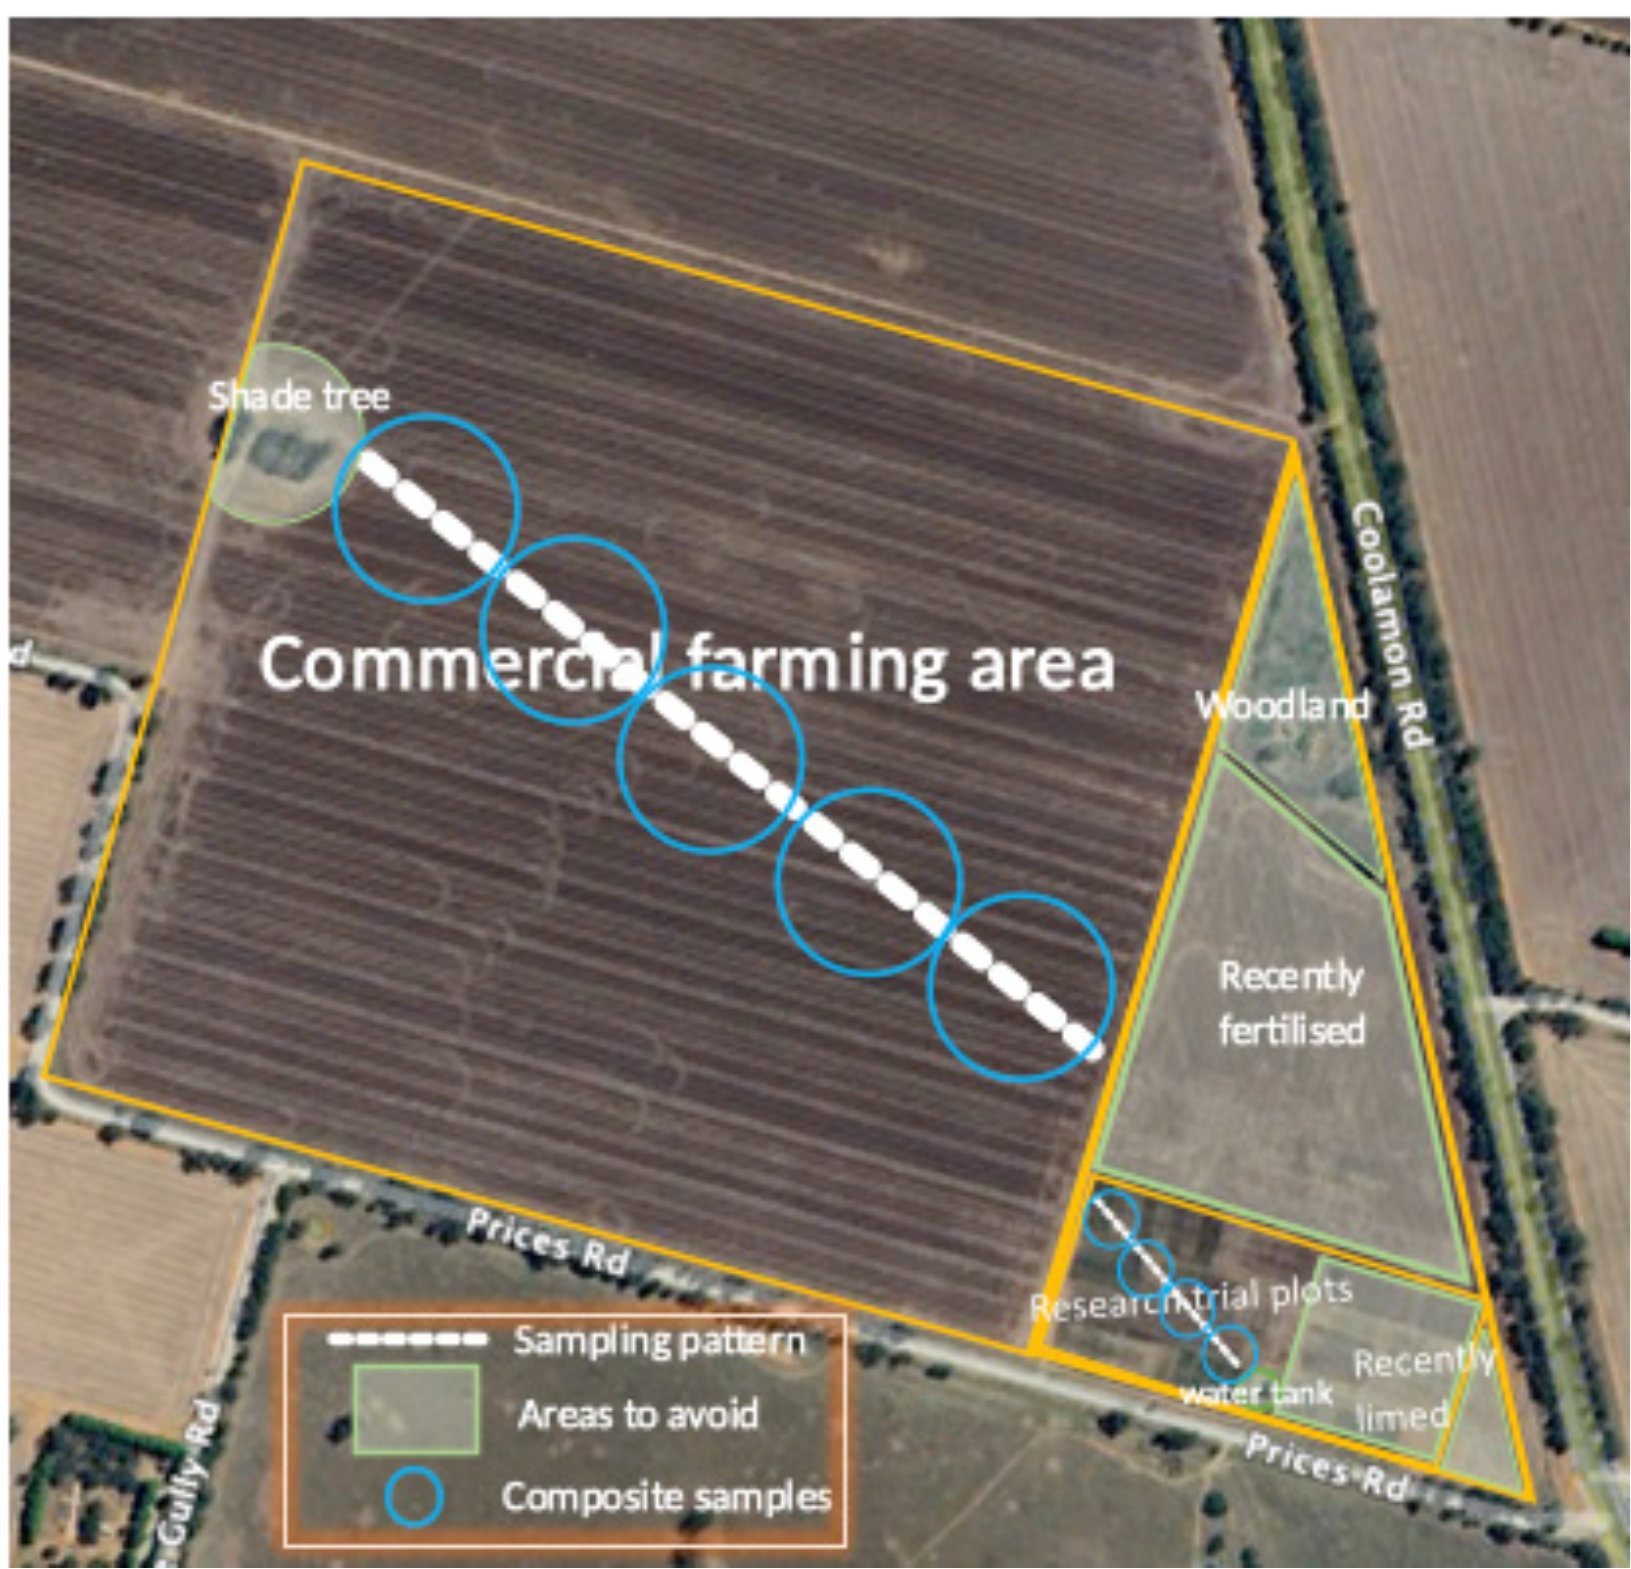
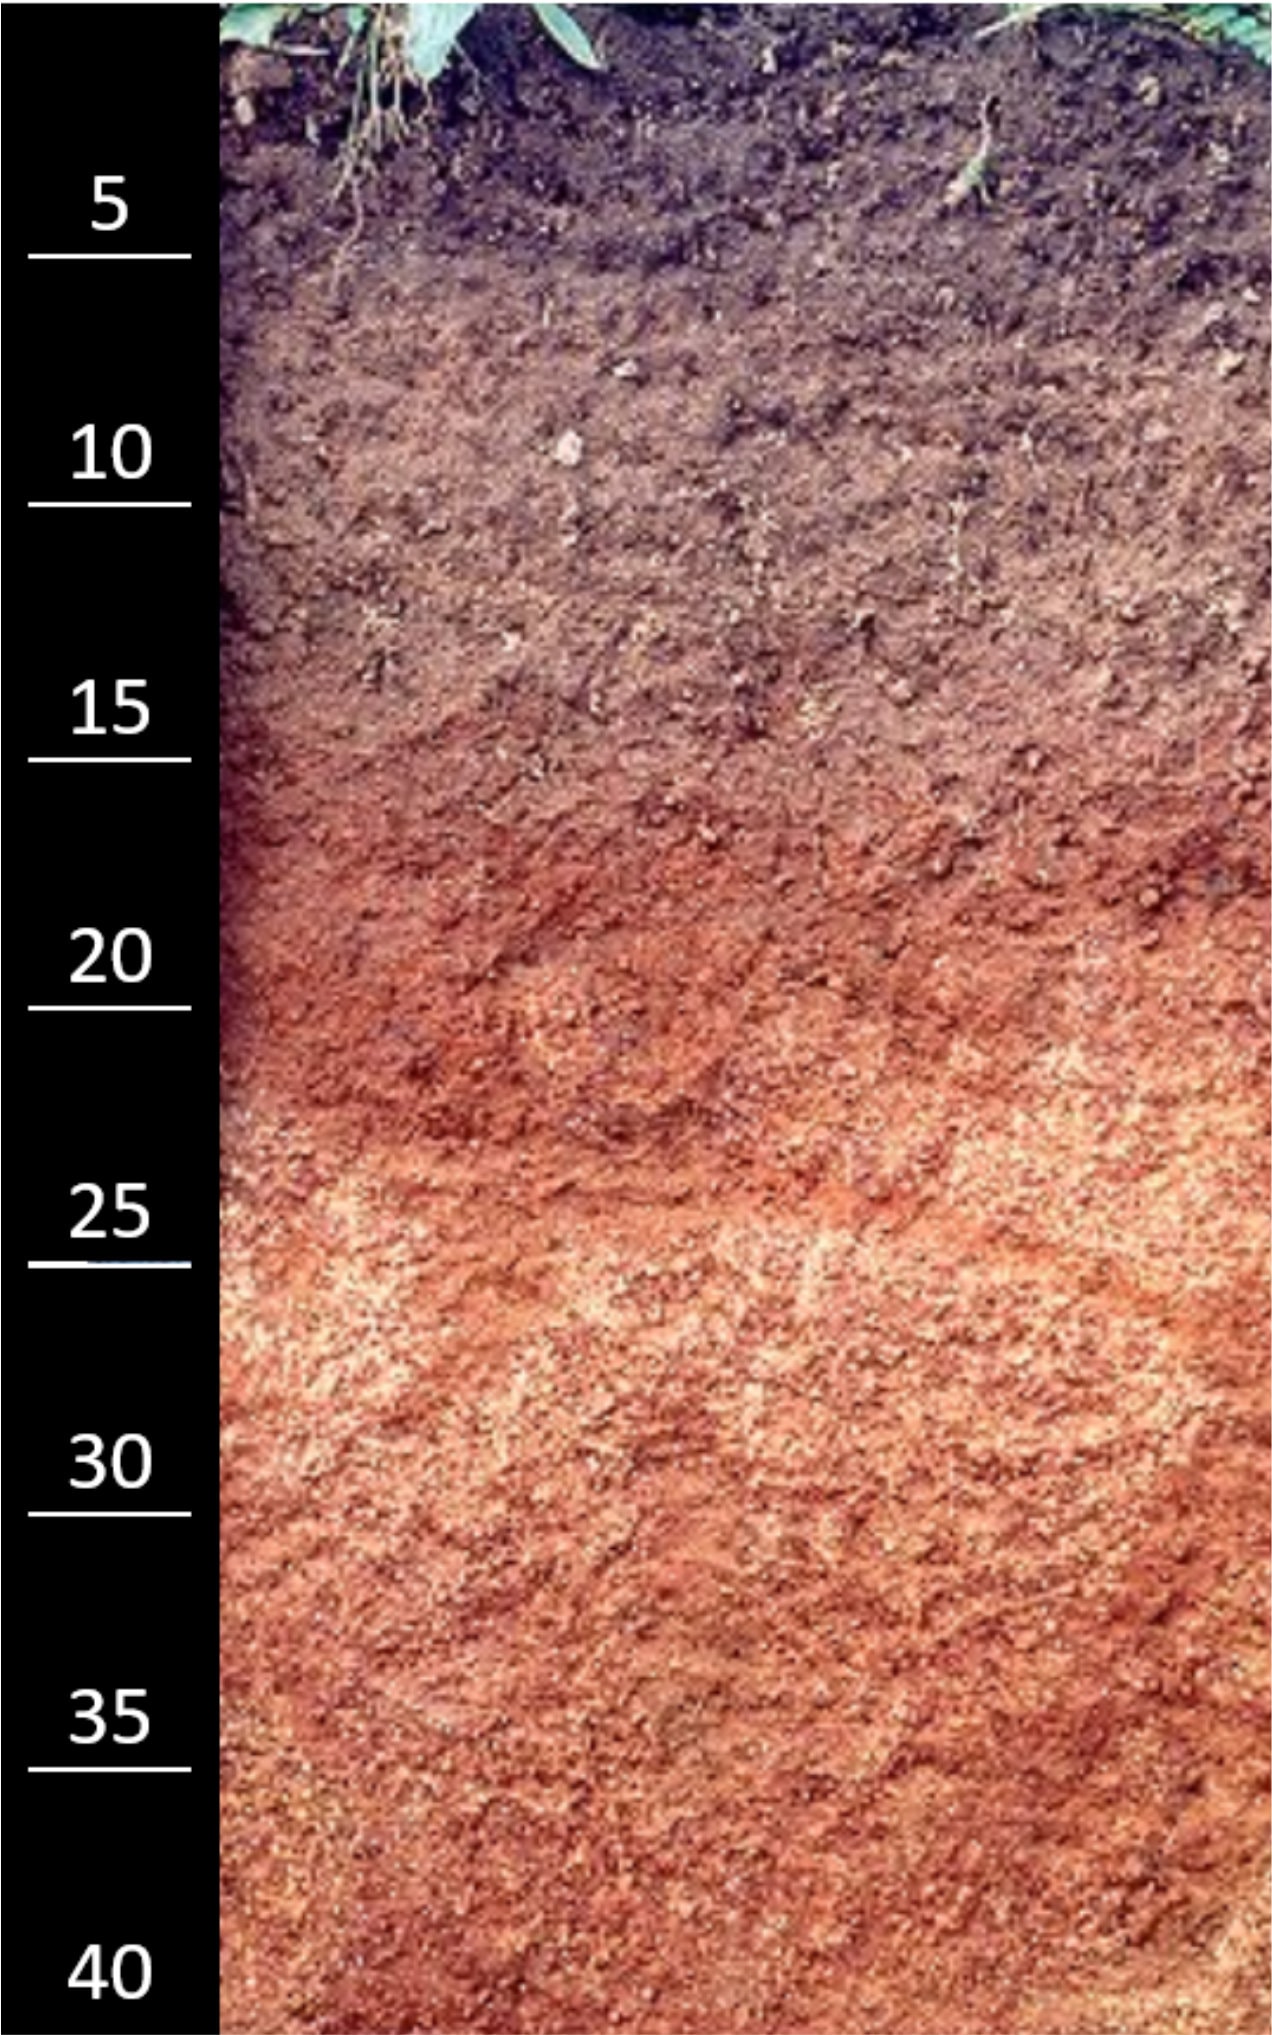
- Soil is inherently diverse and farm management practices add to the diversity. For example, no-till and precision fertiliser placement lead to nutrient bands in the soil, rather than evenly distributed nutrients.
- Understanding soil nutrient stocks is critical to best practice crop nutrition.
Farm management decisions made on evidence gathered from proper soil testing ensure improved soil health and plant
nutrition and protect environmental health.
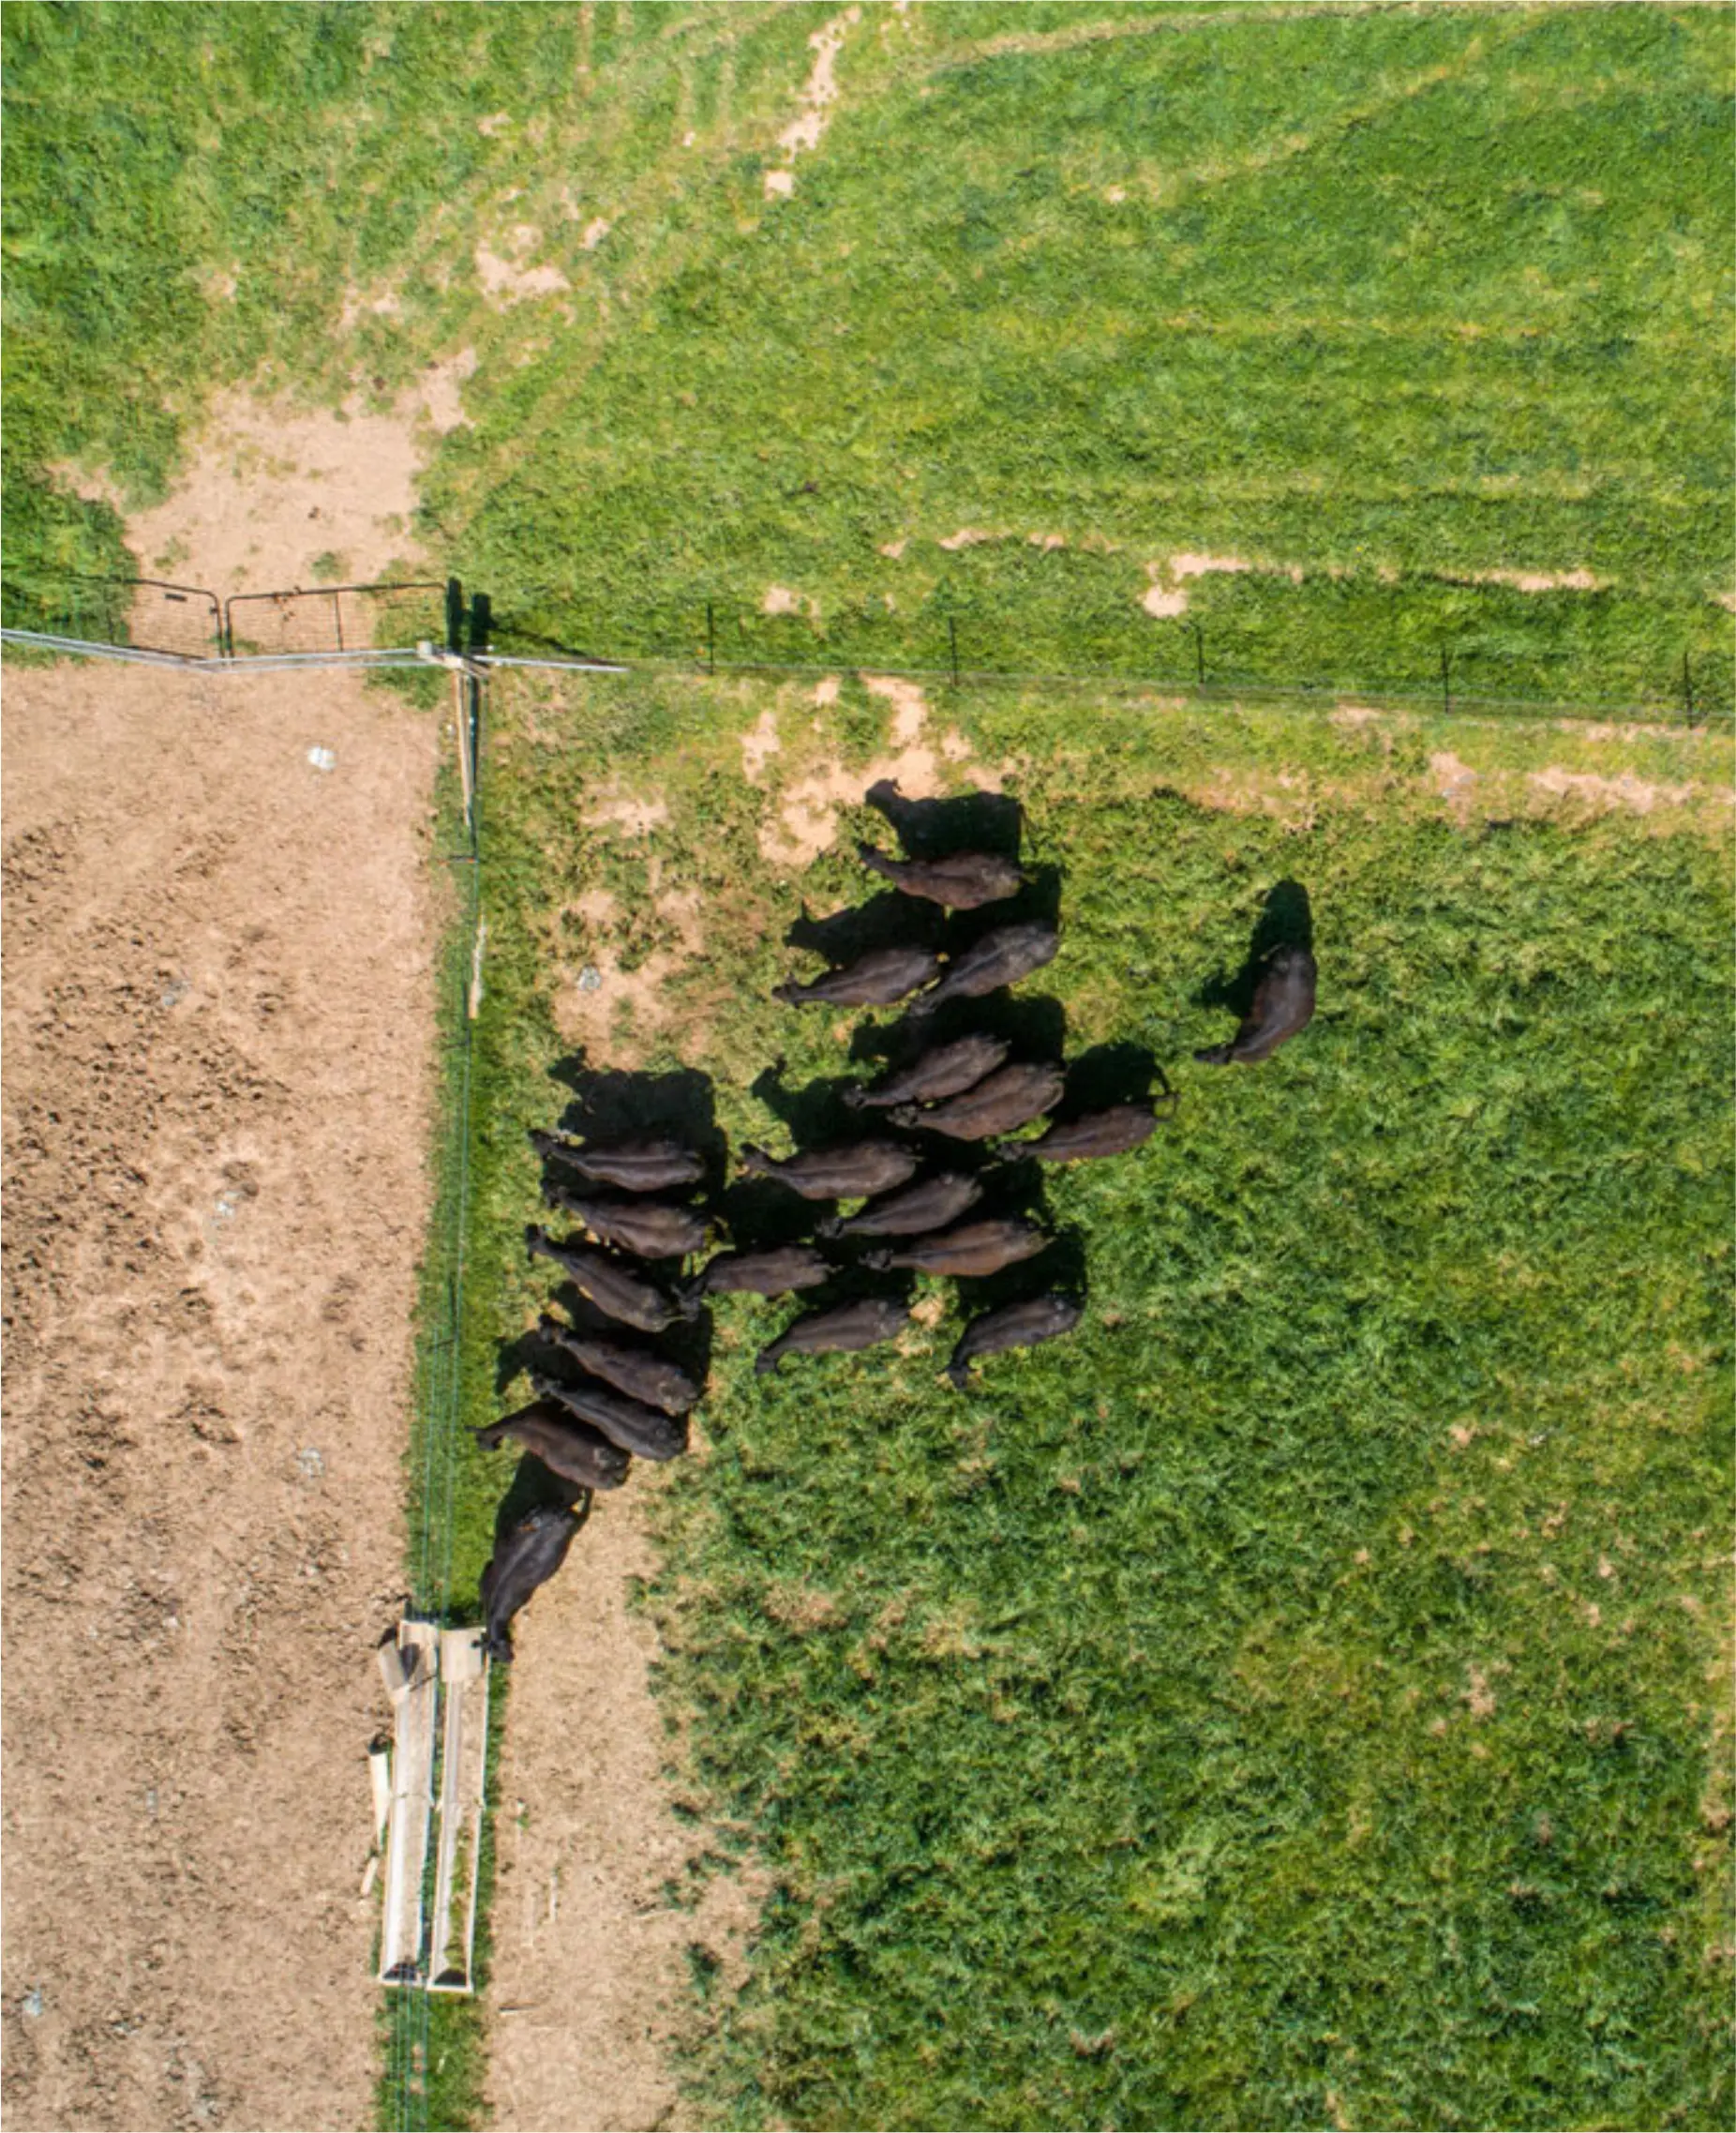
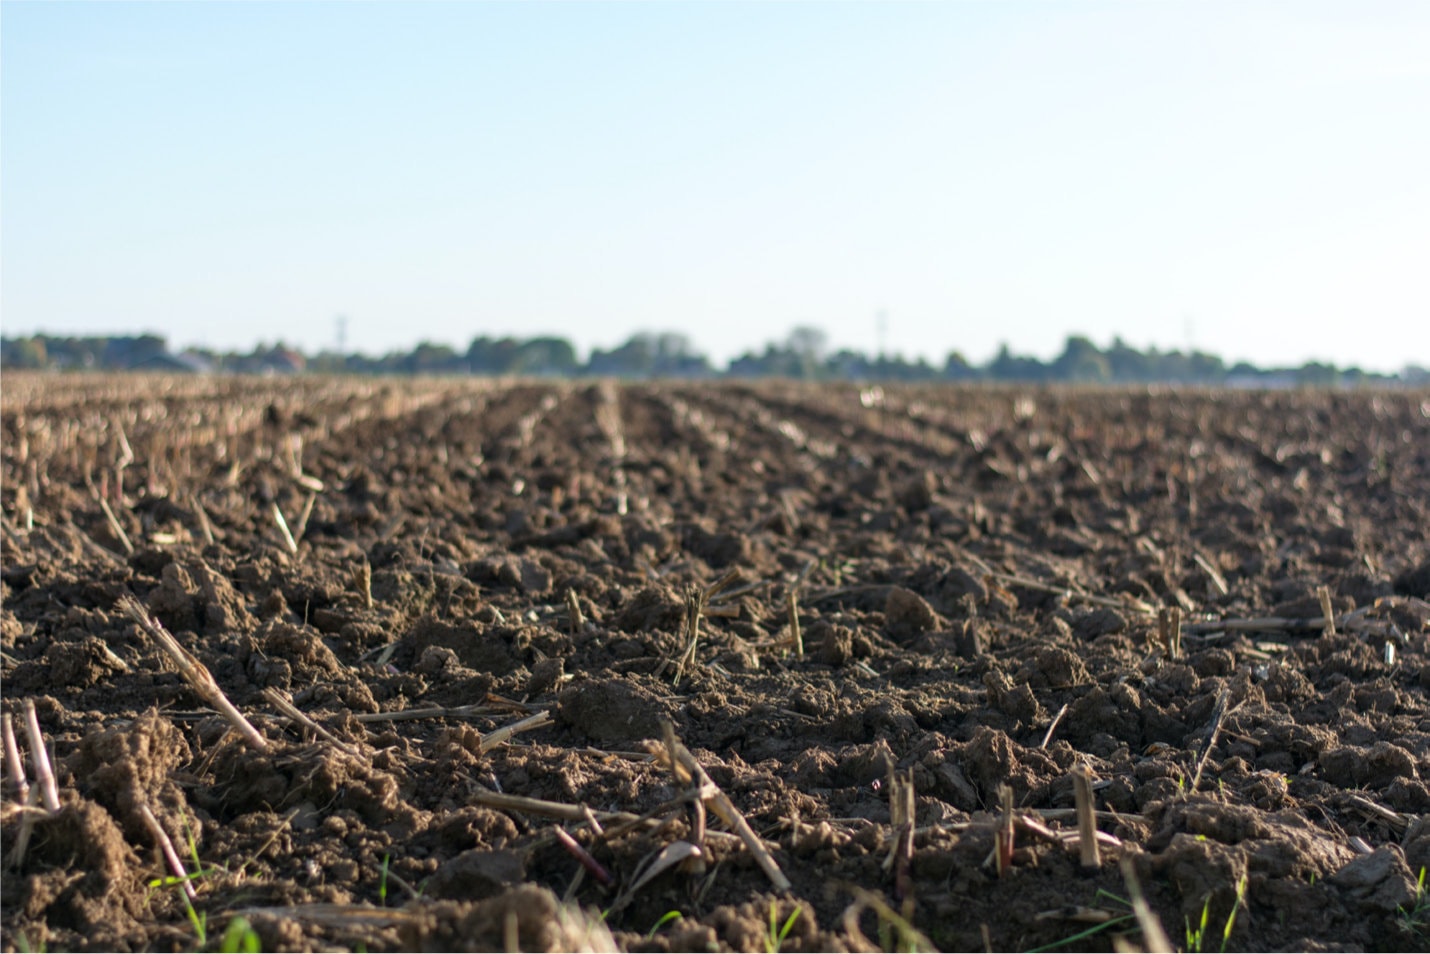
Soil sampling is usually undertaken for four main reasons:
- Fertiliser planning. Which nutrients are needed and how much?
- Diagnosing a problem. Is a soil issue the reason behind poor crop or pasture growth?
- Monitoring. How soil properties are changing over time.
- Compliance. Does the status of soil in farm meet required environmental standards.
The 4Rs of good
fertiliser management.
Cost effective fertiliser decisions hinge on adhering to the 4R’s of fertiliser management – the right nutrients, at the right rate, at the right time, in the right place.
> nutrientstewardship.org/4rs
> nutrientstewardship.org/4rs